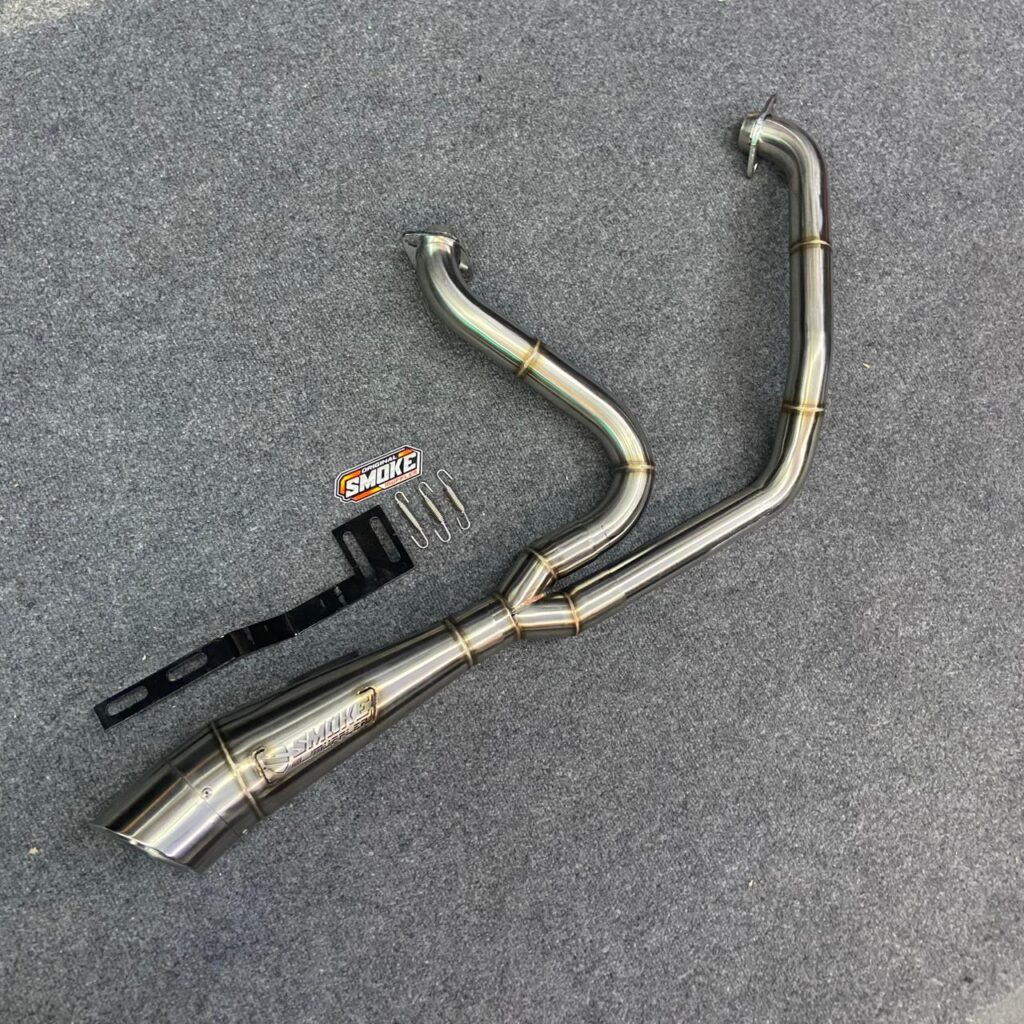
Installing a racing exhaust is one of the most popular motorcycle upgrades because it improves performance, reduces weight, and creates a more aggressive exhaust note. However, many riders focus only on buying a high-quality exhaust and overlook the installation process. Even a premium exhaust system cannot deliver the expected results if someone installs it incorrectly.
Many installation mistakes reduce engine performance, create exhaust leaks, increase fuel consumption, and shorten the lifespan of exhaust components. In some cases, improper installation even damages nearby motorcycle parts or creates safety hazards while riding.
This guide explains the common mistakes when installing a racing exhaust, why they happen, and how you can avoid them. By following the correct installation process, you will achieve better performance, maintain engine reliability, and enjoy your motorcycle with confidence.
Understand Exhaust Compatibility Before Installation
One of the biggest mistakes riders make involves purchasing an exhaust based only on appearance. Although many racing exhausts look similar, manufacturers design them for specific motorcycle models, engine sizes, and production years.
Before installation, always verify:
- Motorcycle model compatibility
- Engine displacement
- Mounting point locations
- Header pipe diameter
- Oxygen sensor compatibility
- Frame clearance
Installing an incompatible exhaust often causes alignment problems. As a result, riders force components into position, creating unnecessary stress on mounting brackets and welds.
Always read the manufacturer’s compatibility information before beginning installation.
Never Skip the Installation Manual
Some experienced riders believe they already know how to install any racing exhaust. Unfortunately, each manufacturer designs its products differently.
The installation manual provides important information, including:
- Tightening sequence
- Torque specifications
- Bracket placement
- Gasket replacement instructions
- Sensor installation
- Heat shield positioning
Ignoring these instructions often leads to uneven installation, loose hardware, or damaged components.
Even if you have installed exhaust systems before, always review the manual carefully.
Replace Old Exhaust Gaskets
Many riders reuse the original exhaust gasket to save time or money. This decision frequently causes exhaust leaks.
Old gaskets lose their sealing ability after repeated heating and cooling cycles. Once compressed, they cannot provide the same airtight seal.
A leaking gasket may cause:
- Popping sounds
- Reduced engine performance
- Louder exhaust noise
- Incorrect oxygen sensor readings
- Hot gases escaping toward nearby components
Installing a new gasket costs very little but prevents expensive problems later.
Tighten Bolts in the Correct Sequence
Another common mistake when installing a racing exhaust involves tightening one bolt completely before securing the others.
Instead, loosely install every bolt first. Once every component aligns correctly, tighten each fastener gradually according to the manufacturer’s recommended sequence.
This method allows:
- Proper alignment
- Even pressure distribution
- Reduced stress on brackets
- Better gasket sealing
Using the correct sequence also minimizes the risk of exhaust leaks.
Use the Recommended Torque Specification
Many riders simply tighten bolts “until they feel secure.”
Unfortunately, guessing the correct tightness creates problems.
Overtightened bolts may:
- Strip threads
- Crack mounting flanges
- Damage cylinder heads
- Warp exhaust components
Loose bolts may:
- Vibrate during riding
- Create exhaust leaks
- Produce rattling noises
- Fall out over time
A quality torque wrench ensures every fastener reaches the manufacturer’s recommended specification.
Check Header Pipe Alignment
Header pipes should fit naturally without excessive force.
If you need to bend, twist, or hammer the pipes into position, something is probably wrong.
Poor alignment creates several issues:
- Increased vibration
- Cracked welds
- Broken brackets
- Exhaust leaks
- Premature metal fatigue
Before tightening anything, verify that every pipe fits smoothly into place.
Avoid Touching Stainless Steel with Dirty Hands
This mistake seems minor, but it affects the appearance of stainless-steel racing exhausts.
Grease, fingerprints, and oil remain on the surface after installation. Once the exhaust heats up, these contaminants burn into the metal and leave permanent discoloration.
Before starting the engine:
- Clean the exhaust with alcohol or brake cleaner.
- Wipe every surface using a microfiber cloth.
- Remove fingerprints completely.
This simple step helps maintain the polished finish for much longer.
Do Not Forget Oxygen Sensor Installation
Modern fuel-injected motorcycles rely on oxygen sensors to monitor the air-fuel mixture.
Some riders forget to reconnect the sensor after replacing the exhaust.
Others install it incorrectly or leave the sensor unplugged.
These mistakes may trigger:
- Check engine lights
- Poor fuel economy
- Rough idle
- Reduced engine performance
- Incorrect ECU adjustments
Always inspect the sensor wiring carefully and ensure the connector locks securely.
Inspect Every Mounting Bracket
Mounting brackets support the weight of the entire exhaust system.
If a bracket sits at an angle or remains under tension, vibration gradually weakens the metal.
Before final tightening:
- Verify bracket alignment.
- Confirm rubber dampers remain in place.
- Ensure every spacer is installed correctly.
- Check that bolts enter straight.
Proper support significantly extends the exhaust’s service life.
Leave Enough Clearance Around the Exhaust
A racing exhaust expands as its temperature increases.
If the exhaust sits too close to other motorcycle parts, it may contact them after heating up.
Inspect clearance around:
- Swingarm
- Fairings
- Foot pegs
- Brake lines
- Oil lines
- Engine covers
- Rear suspension
Adequate spacing prevents unwanted rubbing and heat damage.
Start the Engine Before Completing the Job
Many riders immediately take their motorcycles for a ride after installation without performing any inspection.
Instead, start the engine while the motorcycle remains stationary.
During idle, check for:
- Exhaust leaks
- Unusual vibrations
- Smoke near joints
- Loose hardware
- Strange noises
Place your hand near—never directly over—the joints to feel for escaping exhaust gases. If you detect a leak, stop the engine and correct the problem immediately.
Retighten the Exhaust After the First Ride
Metal expands and contracts during the first heat cycle.
As a result, bolts sometimes loosen slightly after the initial ride.
After riding approximately 50–100 kilometres:
- Inspect every mounting bolt.
- Verify torque specifications.
- Check bracket alignment.
- Examine the gasket area.
- Look for soot around the joints.
This simple inspection prevents future reliability issues.
Avoid Skipping ECU Adjustment When Necessary
Not every racing exhaust requires ECU tuning. However, some full-system exhausts significantly change engine airflow.
Ignoring ECU adjustment may cause:
- Lean air-fuel mixtures
- Hesitation during acceleration
- Reduced power
- Higher operating temperatures
If your manufacturer recommends ECU remapping or fuel tuning, complete it after installation. This adjustment helps the engine operate efficiently and safely.
Listen for Warning Signs After Installation
The installation process does not end after tightening the final bolt.
Pay attention to how the motorcycle behaves during the next several rides.
Watch for these warning signs:
- Metallic rattling
- Exhaust leaks
- Sudden power loss
- Increased vibration
- Burning smell
- Check engine light
- Unusual popping sounds
Address these symptoms early before they develop into expensive repairs.
Maintain the Racing Exhaust Regularly
Proper installation marks only the beginning of good exhaust performance.
Regular maintenance helps preserve both appearance and function.
Create a simple maintenance routine by:
- Cleaning the exhaust regularly.
- Inspecting bolts every few months.
- Removing dirt after rainy rides.
- Checking welds for cracks.
- Looking for corrosion.
- Inspecting mounting brackets.
- Replacing damaged heat shields promptly.
Consistent maintenance keeps the exhaust performing at its best for years.
Conclusion
Understanding the common mistakes when installing a racing exhaust helps riders avoid unnecessary repairs and achieve the best possible performance. Small errors—such as reusing old gaskets, tightening bolts incorrectly, skipping torque specifications, or ignoring alignment—can lead to exhaust leaks, poor engine performance, and premature component wear.
Take your time during installation, follow the manufacturer’s instructions, use the correct tools, and inspect every component before riding. A careful installation not only improves performance but also increases safety, reliability, and the overall lifespan of your racing exhaust system. We’re proud to recommend our high-quality racing exhausts!